01
Upload Your Model
Upload a supported file such as GLB, STL, or OBJ. Use a figurine, miniature, toy, prop, sculpture, prototype, or other model that needs to be divided for printing.
3D Segmentation
Split 3D models into clean printable parts with AI. Upload your model, choose how it should be divided, and create separate components for easier printing, painting, and assembly.

Choose the right splitting method based on the type of model you want to print.
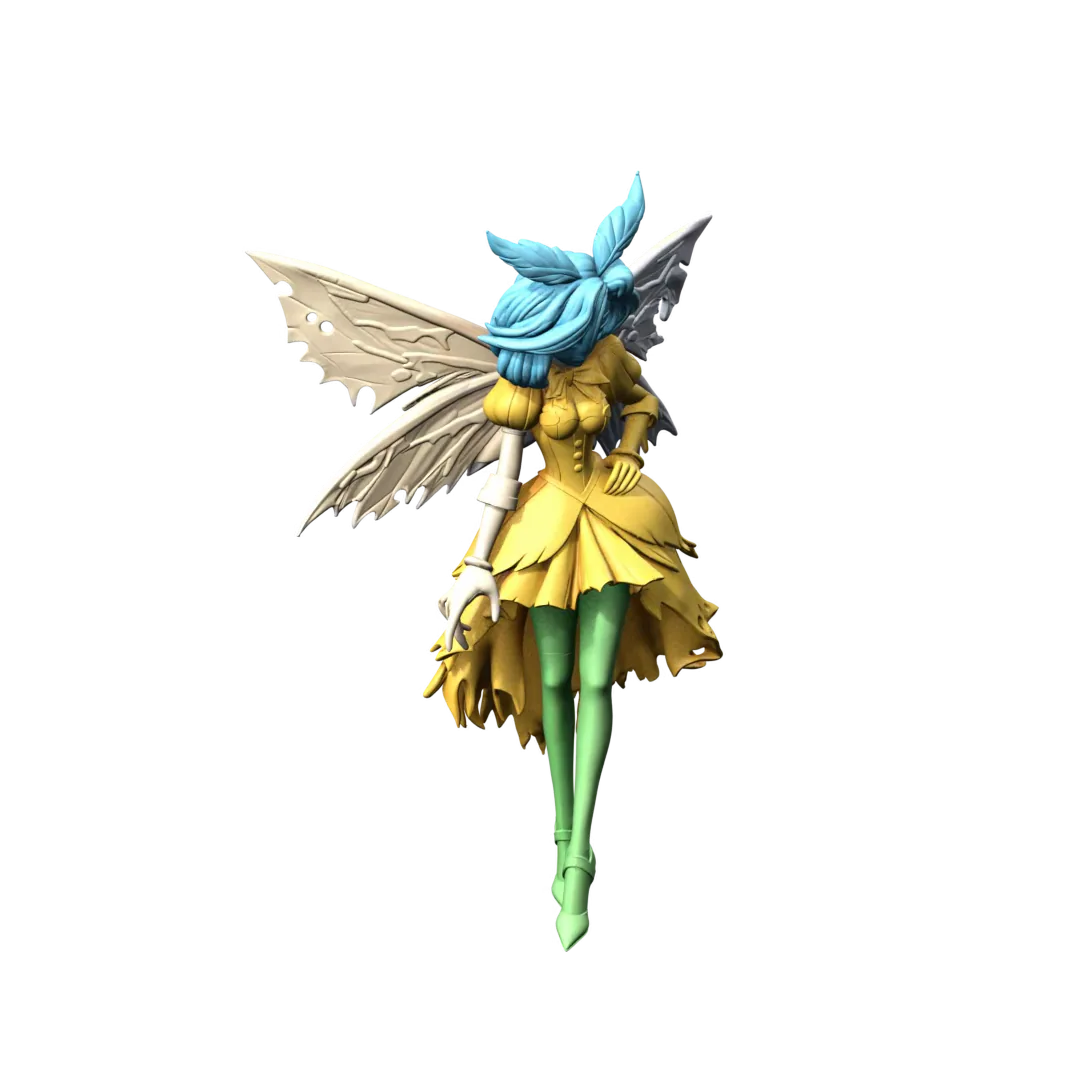
Character mode is designed for humanoid models, figurines, toys, miniatures, and creatures. It identifies common body areas and creates practical part layouts for printing, painting, and assembly.
General mode works with props, sculptures, decorative objects, prototypes, product concepts, and other non-character models that need to be divided into printable sections.


Choose how the separated parts should connect after printing.
Use no joint when you need separate parts for independent printing, painting, positioning, or manual assembly.
Use ball joints for poseable or attachable character parts, including heads, arms, legs, tails, and accessories.
Use dovetail joints for stable sliding connections on props, hard-surface objects, display models, prototypes, and larger printable parts.


Three steps
Turn one complete 3D model into separate printable parts in three simple steps.
Upload a supported file such as GLB, STL, or OBJ. Use a figurine, miniature, toy, prop, sculpture, prototype, or other model that needs to be divided for printing.
Choose Character mode for humanoid or figure-style models, or General mode for props, sculptures, products, and other objects. Divide the model based on its shape, printer build volume, painting plan, and intended assembly.
Choose no joint, ball joint, or dovetail joint depending on how the parts should connect. Inspect each component and export the separated model for printing and assembly.
Made for Easier Printing
Divide complex models into practical parts that are easier to print, paint, fit together, and assemble.

01
Separate heads, torsos, arms, legs, weapons, accessories, and bases for easier printing, painting, and assembly.

02
Split toys and collectible models into separate components and add joints for fixed or poseable assembly.

03
Divide masks, sculptures, ornaments, signs, and larger props into manageable sections that fit your printer’s build volume.

04
Break prototypes and custom product models into modular components for separate printing, testing, and assembly.
Used by makers, miniature artists, product designers, model sellers, and print studios to turn ideas into physical creations faster.
“Crisp3D helps me turn character ideas into detailed models much faster. I can explore several variations before choosing the best one for resin printing.”
Ethan Blake
Resin Miniature Artist
“I can turn a sketch into a 3D model, split complex designs into parts, and prepare everything for slicing without switching between multiple tools.”
Lena Morris
3D Printing Hobbyist
“Crisp3D makes it much easier to turn early concepts into physical prototypes. I can test different shapes and ideas before committing time and material to a print.”
Maya Chen
Product Prototype Designer
“The segmentation tools make large figures much easier to print, paint, and assemble. Being able to add practical joints in the same workflow saves me a lot of time.”
Daniel Rivera
Collectible Model Creator
“Using different AI models and sending the result directly to my slicer makes custom projects much faster, especially during busy production periods.”
Noah Williams
3D Print Shop Owner
“I use Crisp3D to turn reference images into prop concepts, split large models to fit my printer, and prepare the parts for printing and assembly.”
Priya Shah
Cosplay Prop Maker
Keep creating
Move from first concept to a clean, textured, production-ready asset without leaving Crisp3D.
FAQ
A 3D model splitter divides one complete model into separate components. This can make large or complex models easier to print, paint, fit together, and assemble.
Yes. General mode can split props, sculptures, decorations, prototypes, product concepts, and other non-character models into practical printable sections.
Yes. Splitting can help large models fit within the printer’s build volume and make individual parts easier to orient, support, print, paint, and assemble.
Yes. Choose no joint, ball joint, or dovetail joint depending on whether the parts should remain separate, slide together, or support fixed or poseable assembly.
Crisp3D supports common 3D formats including GLB, STL, and OBJ for model splitting and preparation.
Yes. Character mode is designed to separate humanoid models, figurines, toys, miniatures, and creatures into logical body parts.
Split parts may still require final checks based on your printer and material. Inspect scale, wall thickness, joint tolerances, orientation, supports, and other print settings before printing.
Simple pricing
Compare the plans and choose the production capacity that fits your 3D workflow.
Best for light personal use
US$19.9/mo
MOST POPULAR
Ideal for frequent users
US$39.9/mo
Built for professionals and heavy batch
US$119.9/mo
Privacy
Crisp3D gives you clear control over how your content is handled, based on your plan.
Your uploads are encrypted during transfer and while stored. Your account and personal information are protected from unauthorized access.
Content created on the free plan may be publicly accessible and licensed under Creative Commons Attribution 4.0 (CC BY 4.0), allowing others to use and adapt it with proper attribution. Content created on a paid plan remains private and is not made publicly available or licensed to other users.
We clearly communicate the privacy and licensing terms that apply before you create, so you can choose the option that works best for you.
3D Segmentation
Split 3D models into clean printable parts with AI. Upload your model, choose how it should be divided, and create separate components for easier printing, painting, and assembly.
Choose the right splitting method based on the type of model you want to print.
Character mode is designed for humanoid models, figurines, toys, miniatures, and creatures. It identifies common body areas and creates practical part layouts for printing, painting, and assembly.
General mode works with props, sculptures, decorative objects, prototypes, product concepts, and other non-character models that need to be divided into printable sections.
Choose how the separated parts should connect after printing.
Use no joint when you need separate parts for independent printing, painting, positioning, or manual assembly.
Use ball joints for poseable or attachable character parts, including heads, arms, legs, tails, and accessories.
Use dovetail joints for stable sliding connections on props, hard-surface objects, display models, prototypes, and larger printable parts.
Three steps
Turn one complete 3D model into separate printable parts in three simple steps.
Upload a supported file such as GLB, STL, or OBJ. Use a figurine, miniature, toy, prop, sculpture, prototype, or other model that needs to be divided for printing.
Choose Character mode for humanoid or figure-style models, or General mode for props, sculptures, products, and other objects. Divide the model based on its shape, printer build volume, painting plan, and intended assembly.
Choose no joint, ball joint, or dovetail joint depending on how the parts should connect. Inspect each component and export the separated model for printing and assembly.
Made for Easier Printing
Divide complex models into practical parts that are easier to print, paint, fit together, and assemble.
01
Separate heads, torsos, arms, legs, weapons, accessories, and bases for easier printing, painting, and assembly.
02
Split toys and collectible models into separate components and add joints for fixed or poseable assembly.
03
Divide masks, sculptures, ornaments, signs, and larger props into manageable sections that fit your printer’s build volume.
04
Break prototypes and custom product models into modular components for separate printing, testing, and assembly.
Used by makers, miniature artists, product designers, model sellers, and print studios to turn ideas into physical creations faster.
“Crisp3D helps me turn character ideas into detailed models much faster. I can explore several variations before choosing the best one for resin printing.”
Ethan Blake
Resin Miniature Artist
“I can turn a sketch into a 3D model, split complex designs into parts, and prepare everything for slicing without switching between multiple tools.”
Lena Morris
3D Printing Hobbyist
“Crisp3D makes it much easier to turn early concepts into physical prototypes. I can test different shapes and ideas before committing time and material to a print.”
Maya Chen
Product Prototype Designer
“The segmentation tools make large figures much easier to print, paint, and assemble. Being able to add practical joints in the same workflow saves me a lot of time.”
Daniel Rivera
Collectible Model Creator
“Using different AI models and sending the result directly to my slicer makes custom projects much faster, especially during busy production periods.”
Noah Williams
3D Print Shop Owner
“I use Crisp3D to turn reference images into prop concepts, split large models to fit my printer, and prepare the parts for printing and assembly.”
Priya Shah
Cosplay Prop Maker
Keep creating
Move from first concept to a clean, textured, production-ready asset without leaving Crisp3D.
FAQ
A 3D model splitter divides one complete model into separate components. This can make large or complex models easier to print, paint, fit together, and assemble.
Yes. General mode can split props, sculptures, decorations, prototypes, product concepts, and other non-character models into practical printable sections.
Yes. Splitting can help large models fit within the printer’s build volume and make individual parts easier to orient, support, print, paint, and assemble.
Yes. Choose no joint, ball joint, or dovetail joint depending on whether the parts should remain separate, slide together, or support fixed or poseable assembly.
Crisp3D supports common 3D formats including GLB, STL, and OBJ for model splitting and preparation.
Yes. Character mode is designed to separate humanoid models, figurines, toys, miniatures, and creatures into logical body parts.
Split parts may still require final checks based on your printer and material. Inspect scale, wall thickness, joint tolerances, orientation, supports, and other print settings before printing.
Simple pricing
Compare the plans and choose the production capacity that fits your 3D workflow.
Best for light personal use
US$19.9/mo
MOST POPULAR
Ideal for frequent users
US$39.9/mo
Built for professionals and heavy batch
US$119.9/mo
Privacy
Crisp3D gives you clear control over how your content is handled, based on your plan.
Your uploads are encrypted during transfer and while stored. Your account and personal information are protected from unauthorized access.
Content created on the free plan may be publicly accessible and licensed under Creative Commons Attribution 4.0 (CC BY 4.0), allowing others to use and adapt it with proper attribution. Content created on a paid plan remains private and is not made publicly available or licensed to other users.
We clearly communicate the privacy and licensing terms that apply before you create, so you can choose the option that works best for you.


